
Design Your Dream Home Wellness Room: A Complete Guide to Creating Your Personal Sanctuary
In today’s fast-paced world, a personal wellness room at home has shifted from “nice to have” to genuinely practical. Whether your goal is relaxation, recovery, or a consistent self-care routine, the right space design makes wellness easier to sustain. This complete guide walks you through planning, layout, sensory upgrades, and the best equipment options—so your room feels calming, functional, and built for everyday use.
Why a Home Wellness Room Works (When It’s Designed With Intention)
A wellness room is not just a storage area for equipment—it’s a space designed to reduce friction. When your environment supports the habit (lighting, comfort, privacy, clean air, easy access), you’re more likely to use it consistently.
Important note: This article is for general wellness and educational purposes only. It does not provide medical advice, and products referenced are not intended to diagnose, treat, cure, or prevent disease.
Step 1: Define Your Wellness Room Goal
Start by choosing one primary outcome. Your layout, purchases, and “must-haves” will be different depending on what you want most:
- Recovery-first: cold exposure, compression, red light, breathwork, mobility
- Relaxation-first: sauna, meditation, soundscapes, aromatherapy, lounge seating
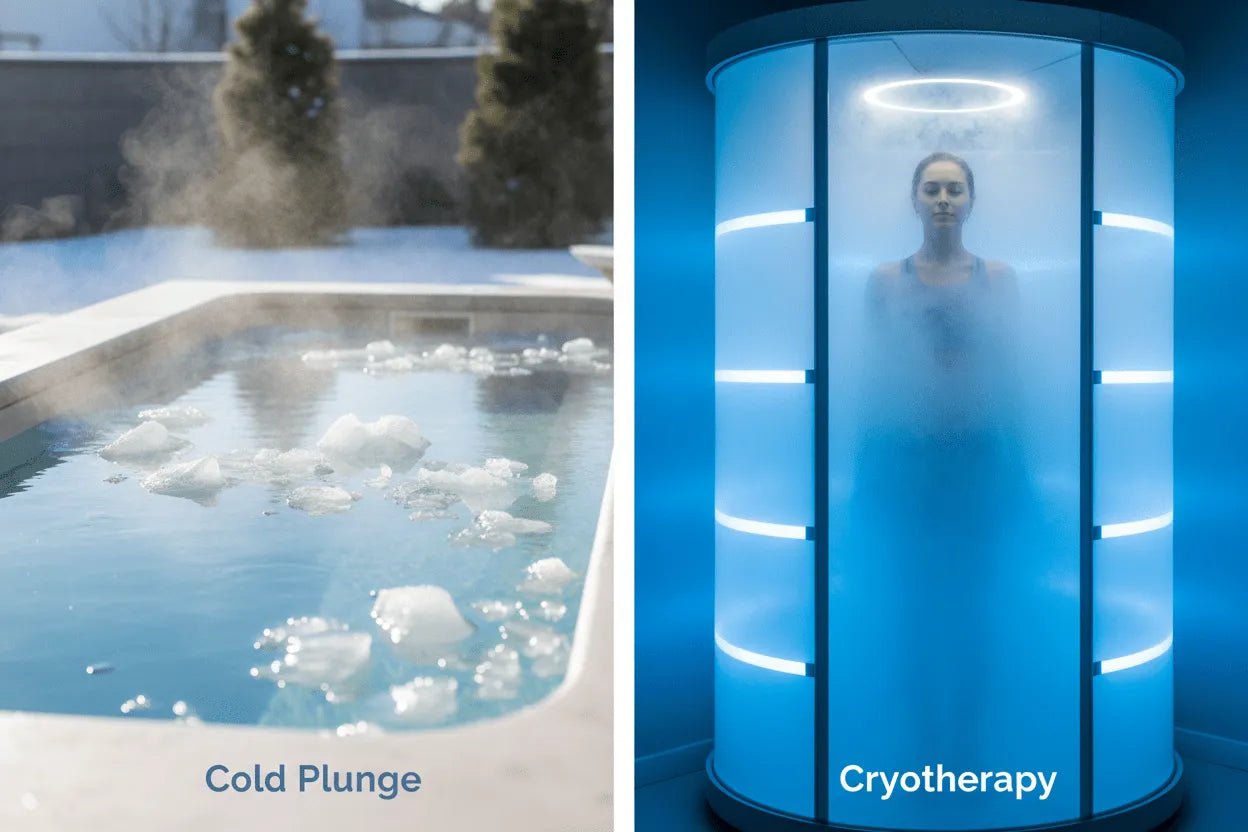
- Performance-first: contrast therapy (hot/cold), mobility zone, tracking tools
- Longevity-first: consistent sleep rhythm support, stress reduction, light hygiene, daily rituals
Step 2: Choose the Right Space (Even If It’s Small)
You don’t need a huge room. You need clear zones and a predictable setup.
- Minimum approach: one quiet corner + dimmable light + floor mat + a single “anchor tool”
- Dedicated room approach: separate zones for movement, recovery tools, and calm-down
- Garage/basement approach: prioritize ventilation, humidity control, and easy-clean surfaces
The Foundation: Layout, Flooring, Walls, and Storage
Layout: Build “Zones” (Not Clutter)
Think like a simple studio layout. Most great wellness rooms include 3 zones:
- Movement Zone: yoga/mobility space with open clearance
- Recovery Zone: your main tools (sauna / cold plunge / red light / compression)
- Downshift Zone: breathwork, meditation, journaling, quiet seating
Flooring: Comfort + Cleanability
Choose flooring that’s easy to maintain and comfortable underfoot. If you’re placing water-based equipment, consider waterproof mats and a simple drainage plan. If you’re doing mobility work, add a dedicated exercise mat area for traction and joint comfort.
Storage: Make Setup Fast
The #1 enemy of consistency is setup time. Use shelves, baskets, and wall hooks so your essentials are always ready (towels, water bottle, straps, bands, eye protection, cleaning wipes).
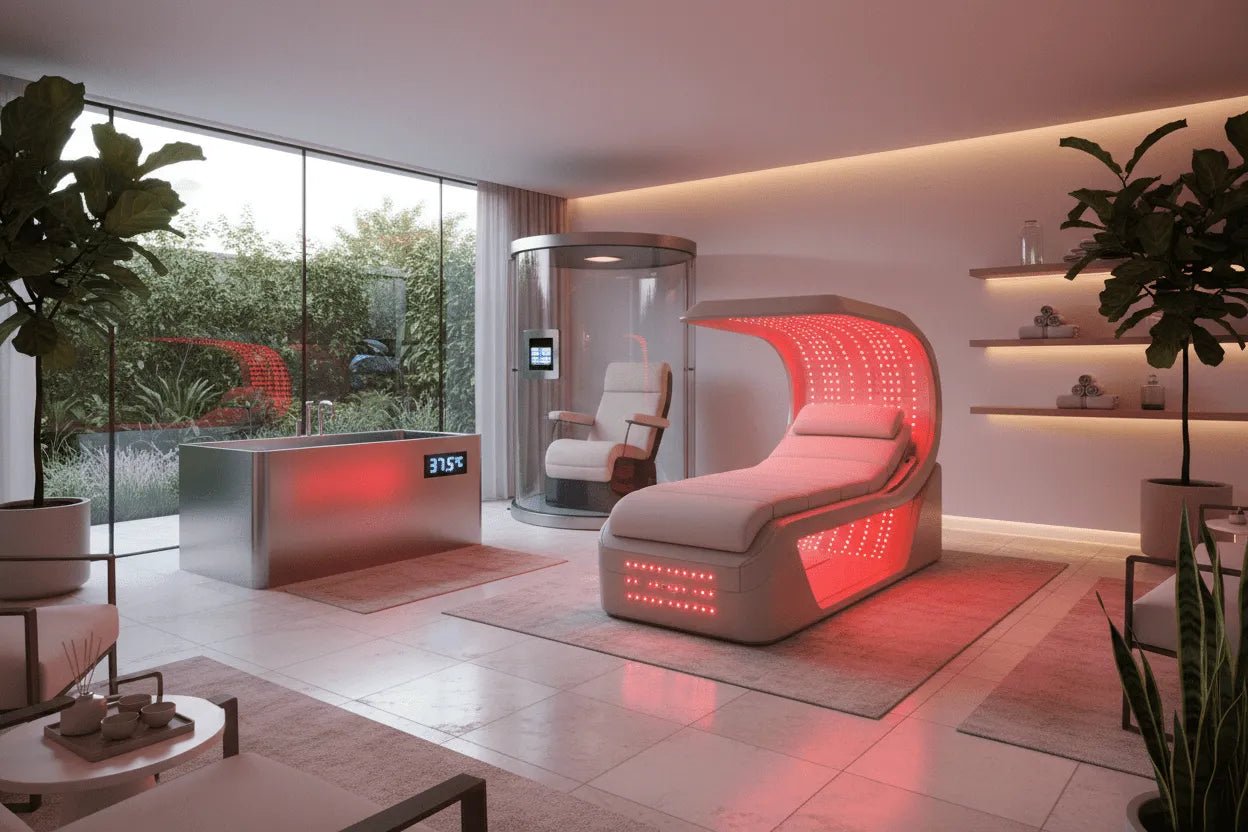
Sensory Design: The “Spa Feel” That Keeps You Coming Back
Lighting (The Most Underrated Upgrade)
- Use dimmable warm lighting for downshift sessions
- Use brighter neutral lighting for movement and setup tasks
- If you’re adding red light, keep the rest of the room lighting simple and consistent
Sound + Scent
Consider soft background sound (nature, ambient, breathwork guides) and light aromatherapy (if tolerated). Keep it subtle and easy to turn off—comfort matters.
Core Wellness Tools (Choose an “Anchor,” Then Build Around It)
If you only buy one category first, pick the one you’ll use most consistently—then expand.
1) Sauna Zone (Heat for Relaxation and Routine)
A sauna zone works best when it’s easy to access and paired with hydration + cooldown. Explore Wellari’s sauna options here:
Learn more before buying: Infrared & Full-Spectrum Sauna Buyer’s Guide
2) Cold Therapy Zone (Cold Plunge for Contrast & Reset)
If you’re building a cold plunge zone, plan for water management, electrical needs (for chillers), and floors that handle splashes. Start here:
Learn more: Cold Plunge & Water Immersion Buyer’s Guide
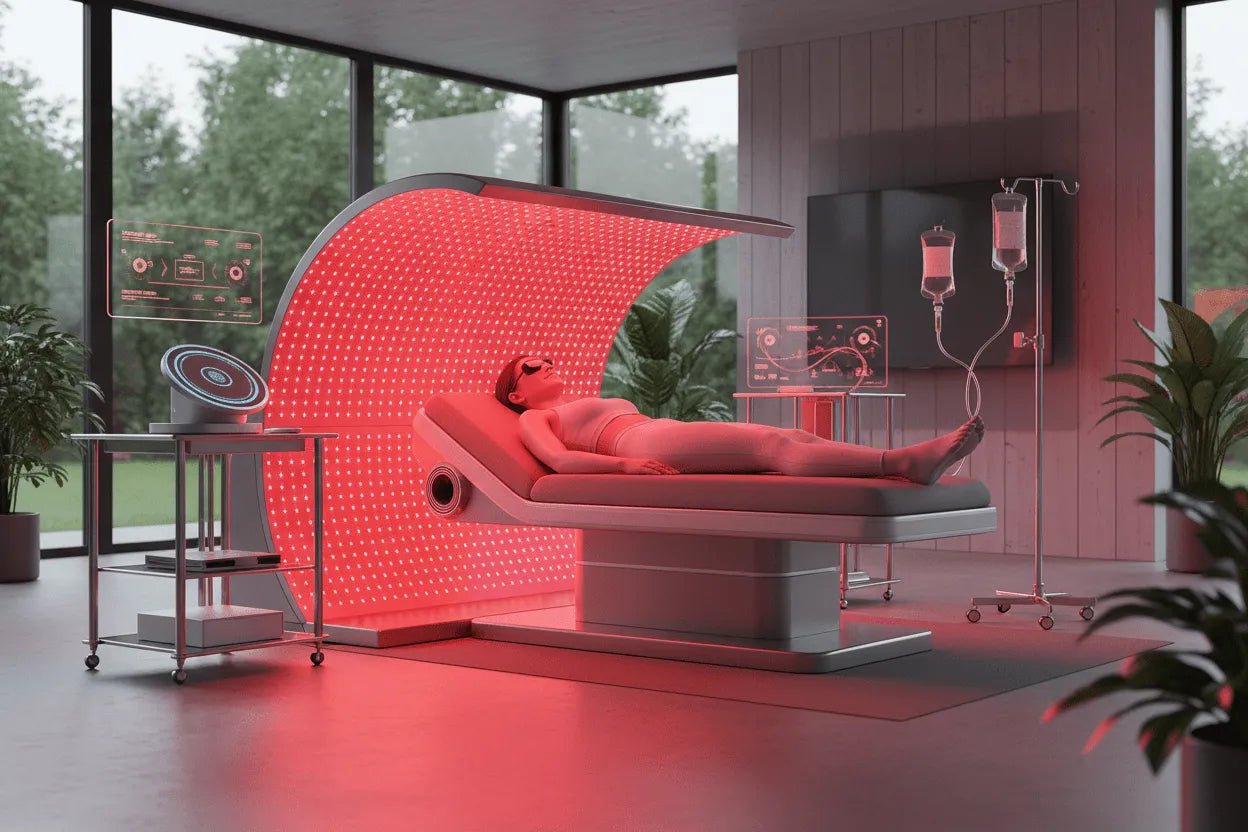
3) Red Light Zone (Daily-Friendly, Low-Friction Wellness)
Red light is one of the easiest tools to use consistently because sessions are short and the setup can stay “ready.” Explore:
4) Compression Zone (Fast, Clean, and Easy Recovery Ritual)
Compression systems are a strong “daily driver” tool—great for wind-down routines because they’re simple and low-mess.
5) Hyperbaric Zone (Dedicated, Quiet, and Intentional)
If you’re planning a hyperbaric zone, prioritize a stable floor, clear access, and a calming environment (quiet lighting, minimal clutter). Browse here:
Learn more: Pressure-Managed Chamber Technical Guide
Recommended Room Builds (Simple Templates)
Option A: Small Space “Daily Reset” (Low Footprint)
- Movement mat + mobility tools
- Red light panel or mask
- Compression system
- Warm dimmable lighting + comfortable chair
Option B: Recovery Room “Contrast Stack”
- Sauna zone + towel/storage
- Cold plunge zone (with splash plan)
- Downshift corner (breathwork + hydration)
Option C: Full Wellness Sanctuary
- Sauna + cold plunge + red light
- Compression for daily recovery routines
- Hyperbaric zone (quiet, dedicated)
- Air quality + lighting automation
Air Quality, Ventilation, and Cleanliness (Do This First)
Your wellness room should feel fresh. Good air quality supports comfort and helps reduce odors and humidity issues—especially in sauna/cold plunge setups.
- Ventilate when possible, especially during/after heat sessions
- Keep humidity under control in basements/garages
- Use wipeable surfaces and simple cleaning routines
Internal Reading (Wellari Guides)
- Infrared & Full-Spectrum Sauna Buyer’s Guide
- Cold Plunge & Water Immersion Buyer’s Guide
- Red Light & Near-Infrared Buyer’s Guide
- Hyperbaric Chamber Technical Guide
- Compression Therapy Systems
- International WELL Building Institute (WELL)
- EPA: Home Ventilation & Indoor Air Quality
- EPA: Indoor Air Quality (IAQ) Overview
- CDC: Physical Activity Guidelines (Adults)
- NHLBI (NIH): Healthy Sleep Habits
FAQ: Home Wellness Room Setup
How big should a home wellness room be?
It can be as small as a corner. What matters most is defining zones (movement + recovery + downshift) and keeping setup friction low.
What’s the best “first tool” to buy?
Choose the tool you’ll use most consistently. Many people start with red light or compression because sessions are short and setup is simple. If relaxation is your priority, a sauna can become a daily anchor.
Do I need total darkness for a wellness room?
No. Use layered lighting: brighter for movement/setup and warm-dim lighting for wind-down. The goal is a controllable environment.
How do I avoid moisture issues in basements or garages?
Prioritize ventilation, keep surfaces wipeable, and consider a dehumidifier if your space tends to hold moisture—especially if you add heat-based equipment.
Is a wellness room “medical” or “therapeutic” space?
Think of it as a wellness and recovery environment. Products referenced are intended for general wellness and lifestyle use and are not medical devices.
References & Further Reading (Verified Links)
Bottom line: Your best wellness room is the one you’ll actually use. Start with one anchor ritual, design the space to reduce friction, then expand with tools that fit your goals and your lifestyle.